Photo Postback
Notes:
1. This Photo Postback feature has been replaced with the curated Table Builder service type which significantly improves the functionality.
2. The Webify option below continues to be a supported feature.
First, you can use the CodeREADr app to scan a barcode and take a photo, and capture associated data. Here, we refer to using it for ID verification. Also, you can use it to capture and view captured photos of any asset, location, and more.
With photo postback, the system auto-inserts the scanned ID into a cloud-based database. Also, it will store the corresponding photo in a special folder on your Dropbox account or FTP server. Then, it will directly link to the scanned barcode’s value (ID).
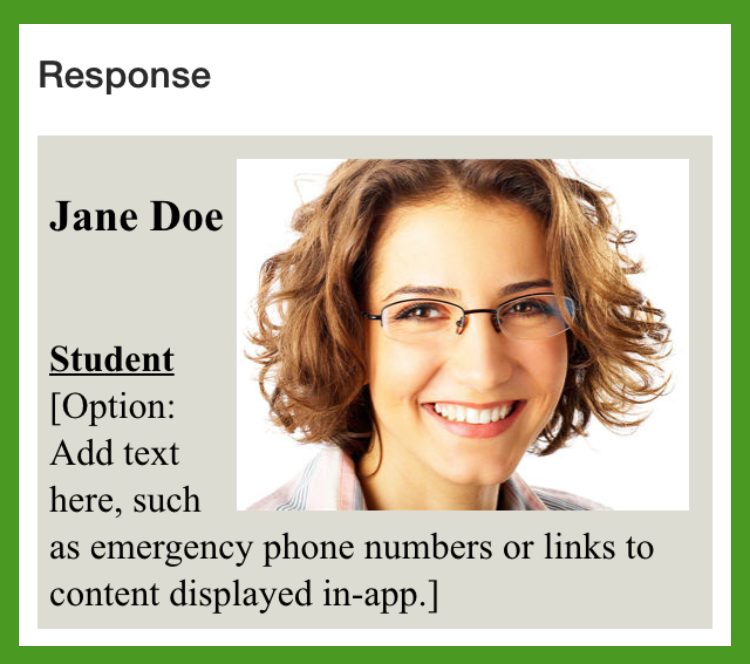
When you scan that ID again, the app will display the photo along with any other content you want to display to the app user at the point of service.
Because the ID is auto-inserted into the associated database, you can start with a blank database. We detailed the database building process here – Database Builder with Postback URL. You will need two services, both associated with the same database. The first service captures the photo and links it to the barcode value in the database. You can use the other service to show the captured photo when you scan that barcode value.
Webify
Using our Webify feature with an existing database of photo URLs, each associated with an ID, you can display the photo to the app user when the corresponding ID is scanned. When you upload your database to CodeREADr’s servers, you will need to include an HTML tag. Learn more about our Webify feature here.
In your database:
- Column 1 is the barcode value (ID)
- Column 2 is an HTML tag including the URL to the associated image
We have provided an example tag showing an Image + HTML:

Result:

To show just an Image Only after a scan, this simple HTML would be this placed in column 2 of the database:

As an alternative to placing the entire HTML string in every column 2 field, you can instead place structured text in column 2 and create an Alter Response HTML Template.
Postback URL
As a final note, when using your own servers with Postback URL or Direct Scan to URL (DSU) service types, you can post back to the app with an HTML tag as you would with the Webify option above. Learn more about Postback URL and DSU here.
