Table of Contents
Step-by-Step Guide to Adding Your Logo
Branding your app with a custom logo enhances its professional appearance and aligns it with your corporate identity. Follow these simple steps to add your logo to the app:
Access the Branding Feature
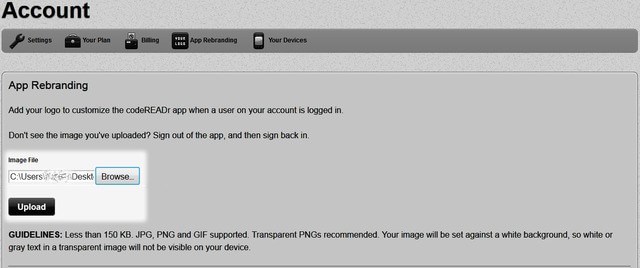
- Navigate to the Account settings section on the top right of the website.
- Select the Branding tab to start the process.

Upload Your Logo
- Click on the “Choose File” button under “Upload Your Logo” to locate the file containing your logo on your computer.
- Once selected, press Upload to apply your logo to the app.

Confirmation Message
- After uploading, if your image meets the required format, you will see a confirmation message indicating successful branding.

Image Guidelines for Optimal Branding
To ensure your logo looks its best in the app, adhere to the following guidelines:
- File Size: Keep the image under 150KB to ensure quick loading without compromising quality.
- Background: Use an image with a transparent background for a seamless integration.
- File Format: Save your image in one of the following formats: JPG, BMP, PNG, or GIF.
- Dimensions: While any dimensions are acceptable, square images or those wider than they are tall generally display better. Keep in mind that different devices have various screen sizes, so it might be helpful to test how your logo looks on multiple devices.
Experiment and Customize
Each device displays images differently due to varying screen dimensions. We recommend experimenting with different sizes and layouts to see what looks best on different phones.
How It Looks
Here’s an example of a picture you can upload:

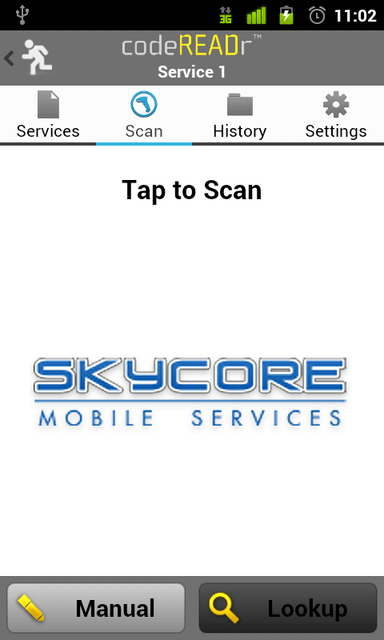
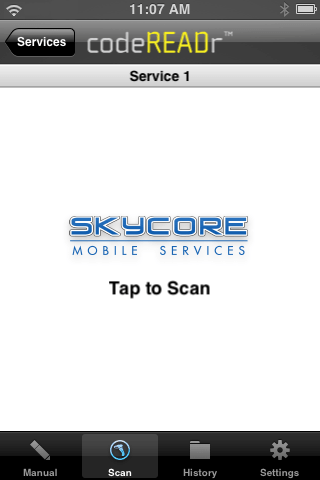
Here’s how it would look like on the different devices:
Android

iOS Devices

Learn More About Branding Your App
For more detailed information on how to effectively brand your app, including advanced customization options, visit our detailed guide on branding your code scanner app with your logo.