- What is Kiosk Mode?
- Video Instruction: Self Scanning Options
- How to Enable Kiosk Mode
- What Does It Look Like?
- Example Script for Kiosk Mode Setup
- How Kiosk Mode Works
- Advanced Features of Kiosk Mode
- Video: Safer Access Control with the Kiosk Mode
- Important Settings for Kiosk Mode
- Customizing Kiosk Mode
- Best Practices for Kiosk Mode
What is Kiosk Mode?
Kiosk Mode and Locked Mode in the CodeREADr app are powerful features that enable unattended scanning for applications such as:
- Attendance check-ins
- Surveys
- Loyalty rewards programs
With these modes, you can restrict user access to scanning and manual entry, preventing access to app settings and other features.
Key Benefits:
- Secure Operation: Password-protected access to app settings.
- Unattended Scanning: Supports both online and offline use. Learn more about unattended scanning here.
- Device Lockdown: Use iOS’s Guided Access or Android’s Screen Pinning to restrict the device to the CodeREADr app.
Video Instruction: Self Scanning Options
How to Enable Kiosk Mode
- Go to the Advanced tab when creating or editing a service.
- Select ‘Kiosk Mode’ to password-protect the app’s settings and features.
- Use Apple’s Guided Access for iOS or Screen Pinning for Android to restrict the device to the CodeREADr app.
What Does It Look Like?
First, the Admin sets up Guided Access in the device’s settings. Next, the Admin signs into the CodeREADr app with the credentials you’ve issued. Then, the admin will see the authorized service(s).
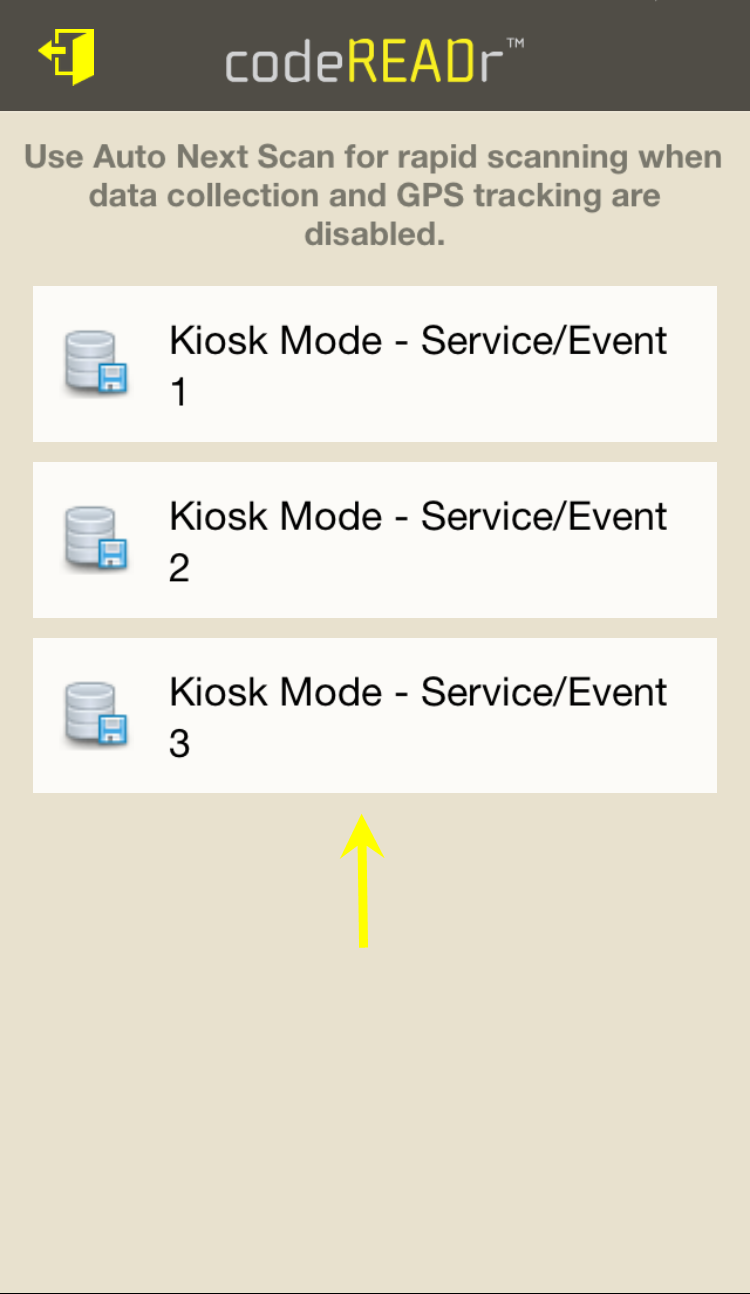
Admin then taps the appropriate Service which by default is in the kiosk mode. Notice the buttons for Manual Entry, Lookup, History, and Settings are removed as are the navigation buttons. The only action available to non-admin is to tap the screen to open the camera for scanning.
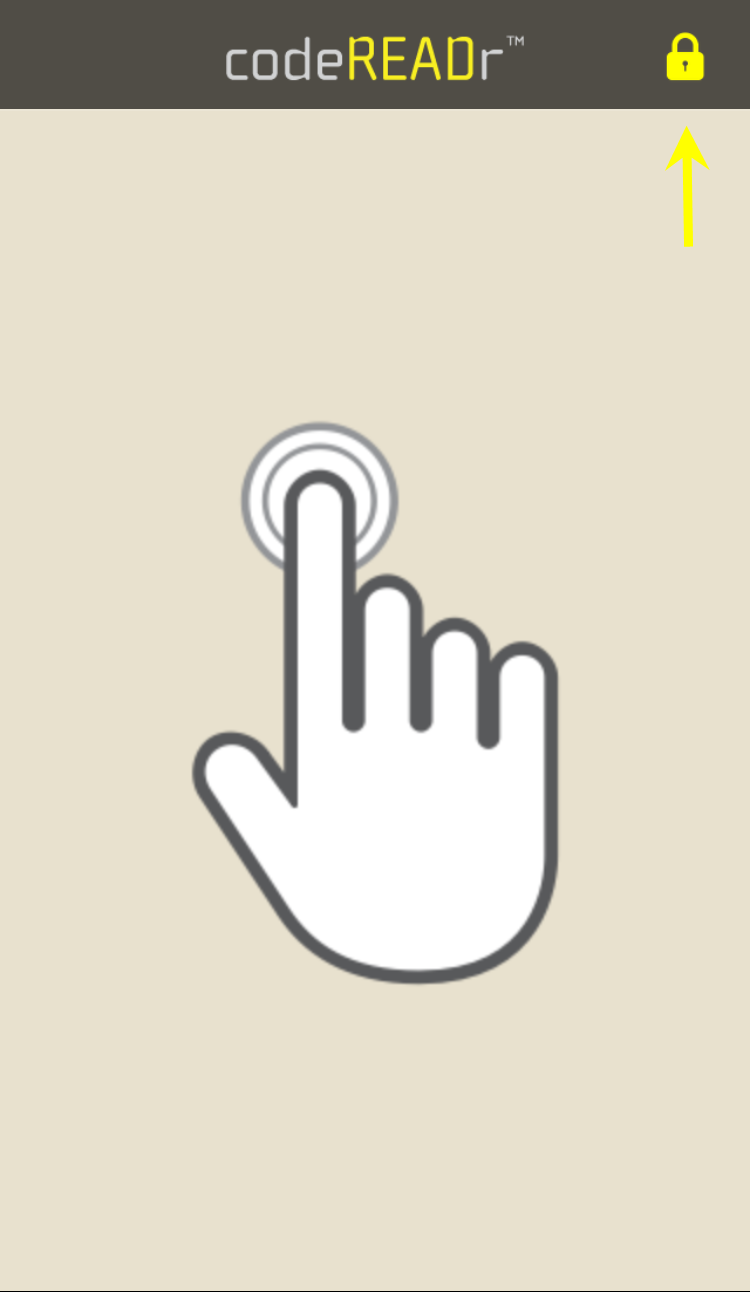
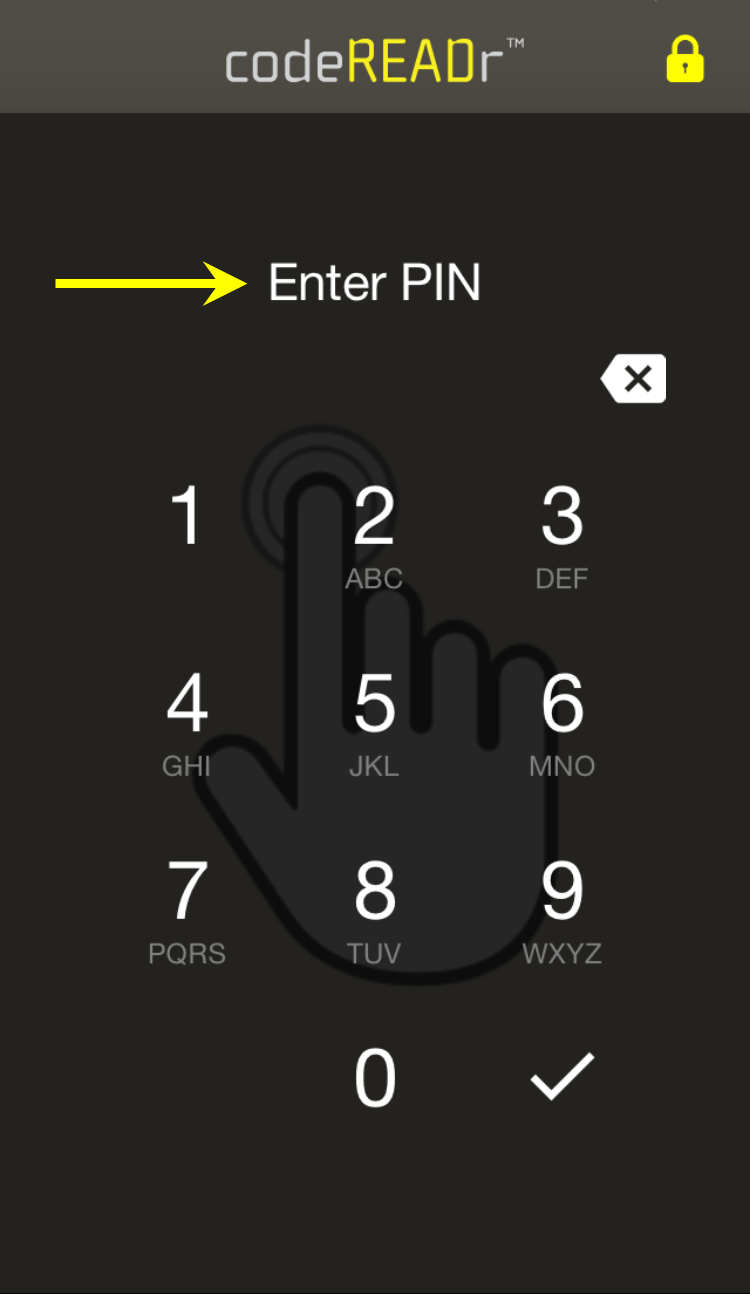
Admin can tap the lock icon to unlock the kiosk mode. They can choose a different Service, upload scans (if a manual upload is necessary), and access the app’s settings. By default, the app uses the rear-facing autofocus camera. However, you can select the front camera in the app’s settings after unlocking the kiosk mode.
Example Script for Kiosk Mode Setup
Key Script Notes
- Replace 1234 with your desired admin password.
- Use “manual_input”: “true” to enable manual entry for damaged barcodes.
- Remove the “webify” string to use the default tap-to-scan image or replace it with a custom branding URL.
How Kiosk Mode Works
- Admin Setup:
- Enable Guided Access (iOS) or Screen Pinning (Android).
- Sign into the CodeREADr app with admin credentials.
- Kiosk Mode Interface:
- By default, navigation buttons and options like History, Lookup, and Settings are hidden.
- Non-admin users can only tap the screen to activate the camera for scanning.
- Admin Controls:
- Tap the lock icon to exit Kiosk Mode.
- Access settings, change services, or upload scans as needed.
Advanced Features of Kiosk Mode
Contactless Scanning
- Use devices like iPads or Android tablets in Kiosk Mode for seamless contactless self-scanning.
- Devices can scan QR codes or barcodes behind glass for added security.
Device Recommendations
- iPad: Excellent for scanning with a non-autofocus front camera.
- Android tablets such as:
- Amazon Fire 7 Tablet (9th Gen): Budget-friendly with reliable performance.
- Lenovo Duet Chromebook: Higher performance tablet
Video: Safer Access Control with the Kiosk Mode
Important Settings for Kiosk Mode
SD PRO Scan Engine
- Enable the SD PRO scan engine for reliable front-camera scanning. This is essential for non-autofocus cameras to quickly read QR codes and simple barcodes.
Auto Sign-Out
- The app automatically signs out users if:
- The device is in sleep mode for 4+ hours.
- The device loses power.
- To prevent sleep mode:
- On iOS, enable Guided Access settings.
- On Android, use the app’s ‘Keep Screen On’ setting or download a third-party app.
Service Refresh
- The app refreshes services every 24 hours if internet connectivity is available.
- Ensure the device connects to the server at least once every five days to reset the token.
Customizing Kiosk Mode
Branding Options
- Replace the default tap-to-scan image with a custom logo or instructional URL.
- Use static content for offline branding compatibility.
Response Screen Customization
- Alter Response: Display custom text or HTML after a scan.
- Custom Response: Rename labels, hide unnecessary elements, or change colors for a tailored user experience.
Best Practices for Kiosk Mode
- Disable Interruptions: Turn off automatic updates for apps and the operating system.
- Optimize Unattended Scanning: Configure the service to return to the main Tap-to-Scan screen after each scan.
- Ensure Internet Access: Maintain connectivity for real-time updates and token resets.
By using Kiosk Mode and Locked Mode, you can streamline unattended scanning processes while maintaining security and user-friendliness. Whether for attendance check-ins or loyalty rewards, CodeREADr provides the tools you need for efficient and customizable solutions.
