September 25, 2017 • 6 min read
Optimizing Attendance Tracking with Barcode Scanning Technology

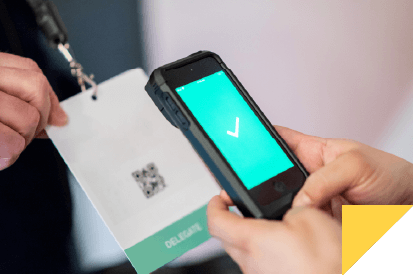
Leveraging Smartphones for Efficient Attendance Management
CATEGORIES
SOCIAL SHARE
Enhanced Data Collection with Smartphones
For those employing barcode scanning for attendance tracking, it’s beneficial to gather additional data beyond mere attendance. This is where the innovative Questions feature comes into play. It allows the user to input extra information post-scan, such as course details or location, via form entry or multiple-choice responses. Coupled with the time-stamp included in each scan, administrators can effortlessly compute the duration of classes, meetings, or events using tools like Excel, Google Sheets, or other database software. For advanced tracking needs, an optional GPS location feature is also available, adding a layer of location-based data to the attendance records.
Hardware Recommendations for Barcode Scanning
When it comes to hardware for kiosk mode operations, tablets such as iPads or Galaxy Tabs are popular choices. However, it’s crucial to note that their front cameras lack autofocus capability. Therefore, the optimal barcode format for scanning is a QR Code with a concise amount of embedded information, ideally between 8-20 alphanumeric characters.
Our instructional content covers the use of mobile and printed QR codes, along with the scanning of RFID/NFC objects, through both iOS and Android devices. Additionally, we explore hardware options like the ASUS Chromebooks for reliable scanning and USB scanning accessories for a more budget-friendly solution. These devices demonstrate the versatility and accessibility of implementing barcode scanning for attendance tracking

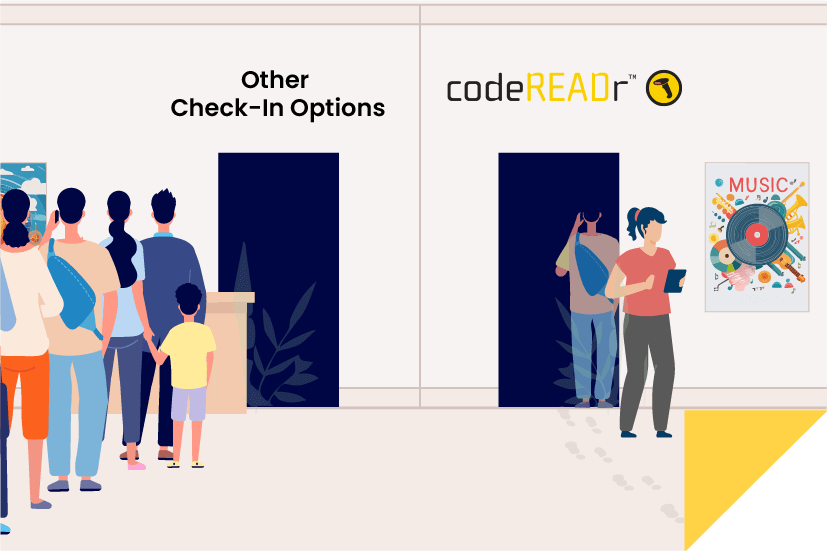
Kiosk Mode: A Solution for Contactless Scanning
For entities looking to adopt a contactless approach, configuring devices in Kiosk Mode is key. This setup enhances the user experience by enabling quicker scans and reducing the need for physical contact, making it a suitable choice for today’s health-conscious environments.

Maximizing Efficiency in Attendance Management with Advanced Barcode Scanning Solutions
Adopting barcode scanning technology for attendance tracking not only simplifies data collection but also enriches the depth of information gathered. By leveraging smartphones and carefully selected hardware, organizations can achieve a balance between efficiency and accuracy in attendance management. For further insights on configuring your attendance tracking system, explore our additional resources, including case studies and detailed guides on emergency configurations and mustering solutions.
Through this approach, tracking attendance with barcode scanning becomes a cornerstone for effective management, offering significant benefits to both administrators and participants in any organized setting.