Simple Data Collection App with Scanning and Form Field Entry
Step-by-Step Tutorial
Sign in to CodeREADr.com
Part One: Create a Custom Service
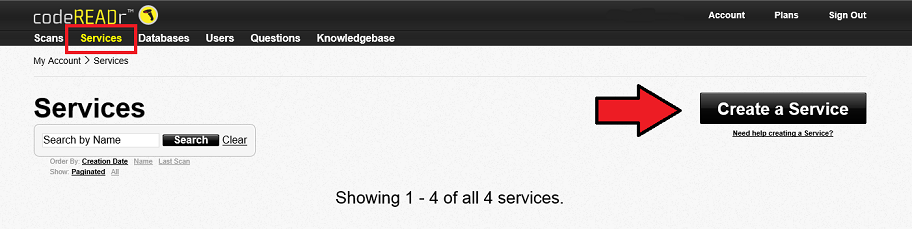
1.Create a Service
2. Select ‘Record Scans’

3. Name your Service

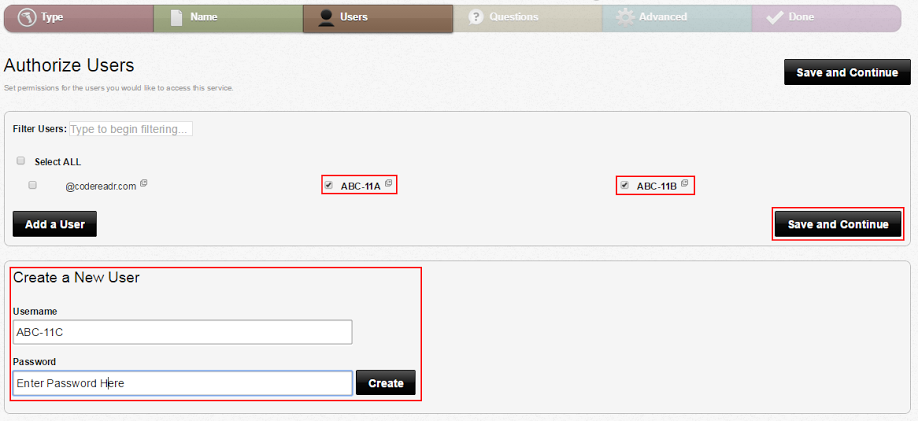
4. Authorize App Users for Access to this Service
Note: New Users can be created during this step or created later on the Users page and then added to the list of authorized app users for this service.
5. Add Questions for Data Collection
Note: We have sample questions already prepared. Sample questions are listed under ‘Available Questions’ by default and include Interest Level, Product Interests, Contact Method and Comments.
Select Add Question

Name the Question
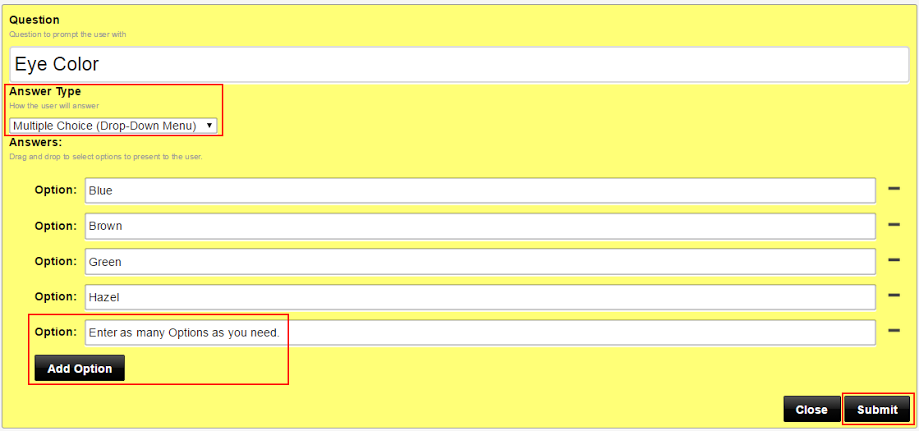
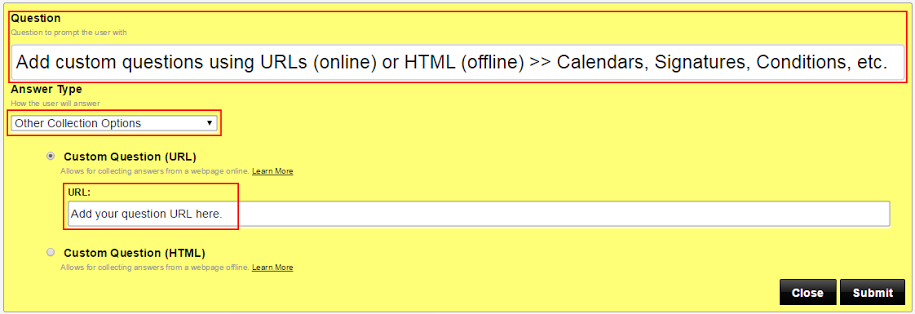
Optional: Other Collection Options
Save & Continue

6. Advanced
Note: The Advanced Option “Improve performance by targeting the barcode format(s) of this service” improves the functionality of the scanning engine on your device. If you are unsure of the name of the barcode type you plan to use: Go to the ‘SD PRO – Try It’ option on the app’s sign-in page as it will identify the barcode symbology after each scan.

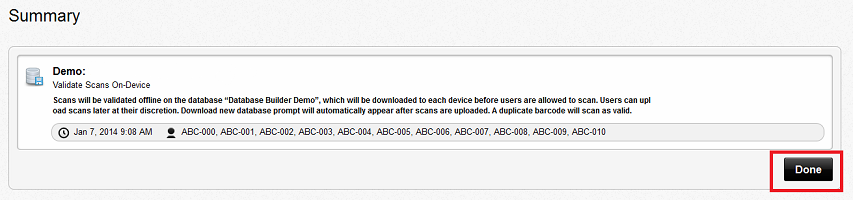
7. Review Service Specifications & Click “Done”
Part Two: Create a Custom Export Template
Choose what collected data you want to export in the format that best suits your needs by creating a Custom Export Template.
1. Click ‘Scans’ in the Top Navigation
2. Select ‘Export Templates’
Name the new customized report template.

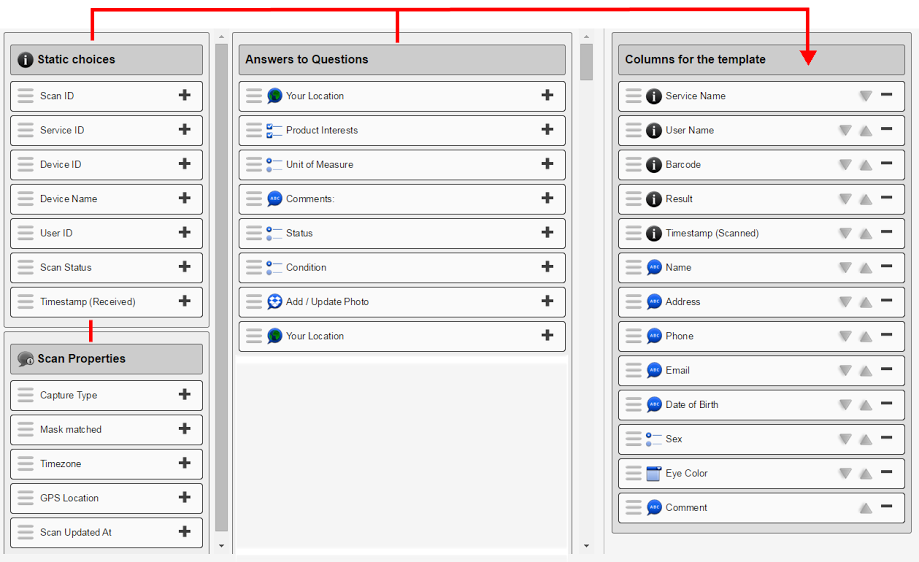
3. Add Items to the ‘Columns for the Template’
Drag and drop the items from the columns on the left to the ‘Columns for the template’ column on the right to add them to the export template.
4. Click ‘Save Template’

Available in ‘Output Format’
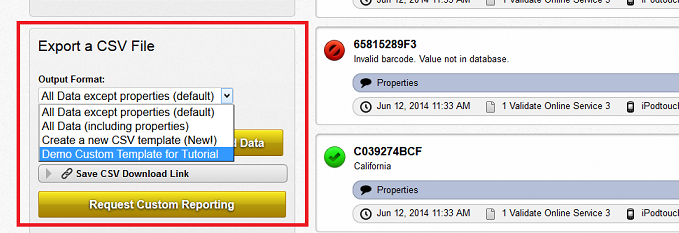
After completion, this custom template will be available for selection in the “Output format” dropdown box on the Scans page.